

If you’ve ever tried making chicken in an air fryer and ended up with dry, rubbery meat, you’re not alone. The biggest complaint people have about an air fryer chicken breast recipe is simple: it looks golden outside but turns out bland or overcooked inside. However, the real problem isn’t the air fryer — it’s the method.
Today, I’m going to show you the exact air fryer chicken breast recipe that guarantees juicy, flavorful results every single time. Moreover, I’ll also explain how small, inexpensive kitchen tools can completely eliminate guesswork. If you want air fryer chicken breast juicy and tender, this guide will walk you step by step.
By the end of this article, you won’t just know how to cook it — you’ll know how to perfect it.
Why Your Air Fryer Chicken Breast Turns Out Dry (Problem First)
Before we jump into the solution, let’s address the real issues:
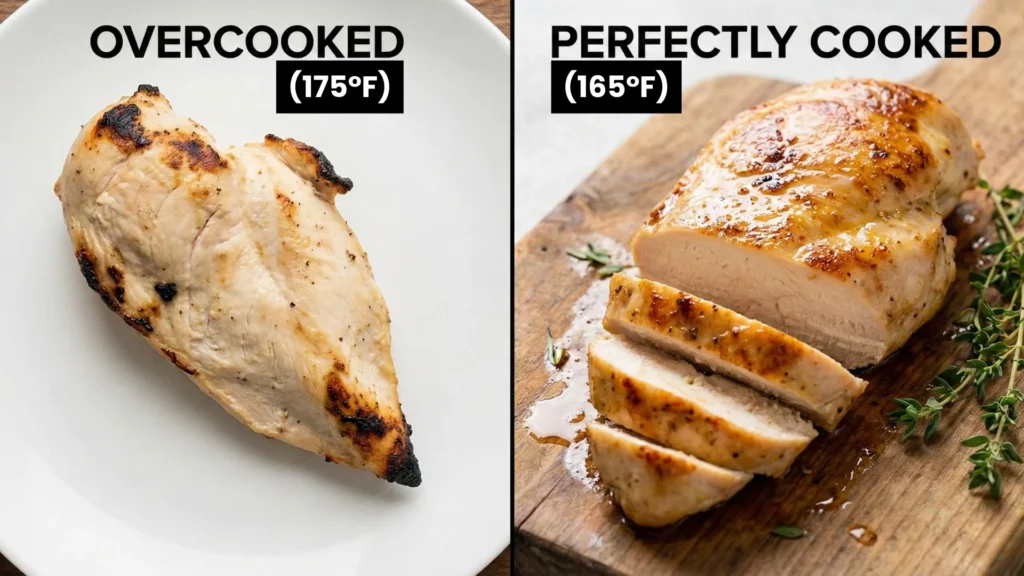
- ❌ Overcooking past 165°F (74°C)
- ❌ Uneven oil distribution
- ❌ No resting time
- ❌ Improper basket setup causing burning
- ❌ Guessing instead of measuring temperature
As a result, even a simple air fryer chicken breast recipe can fail.
Now, let’s fix it properly.
The Perfect Air Fryer Chicken Breast Recipe (Step-by-Step)
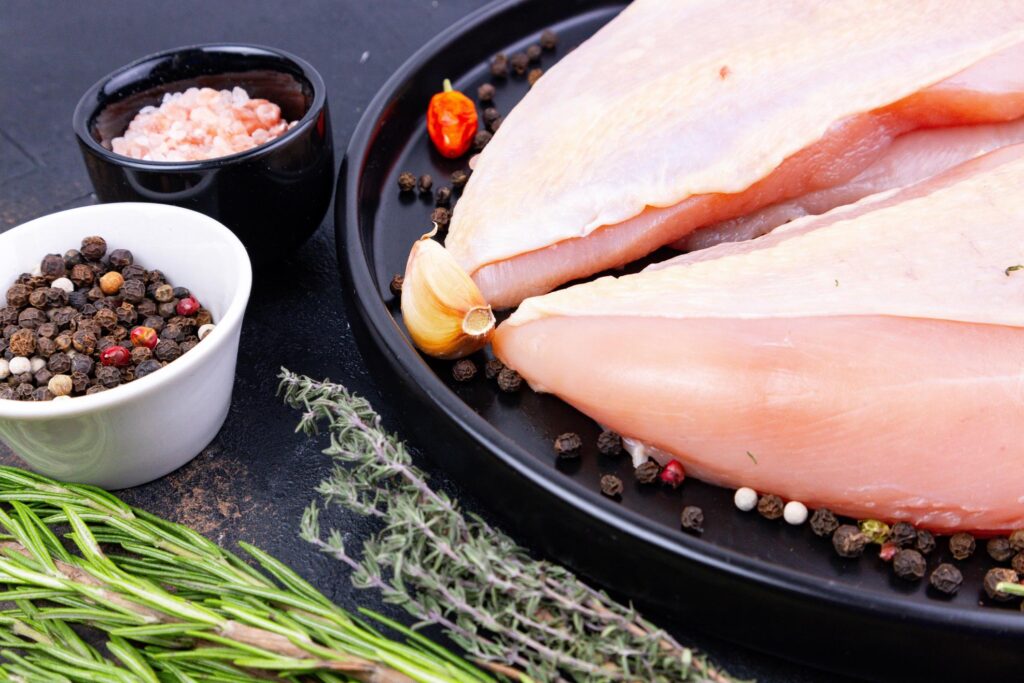
Ingredients (Serves 2)
- 2 boneless, skinless chicken breasts (6–8 oz / 170–225g each)
- 1 tbsp olive oil (15 ml)
- 1 tsp garlic powder
- 1 tsp paprika
- ½ tsp black pepper
- 1 tsp salt
- Optional: ½ tsp onion powder, Italian seasoning
Steps of the air fryer chicken breast recipe
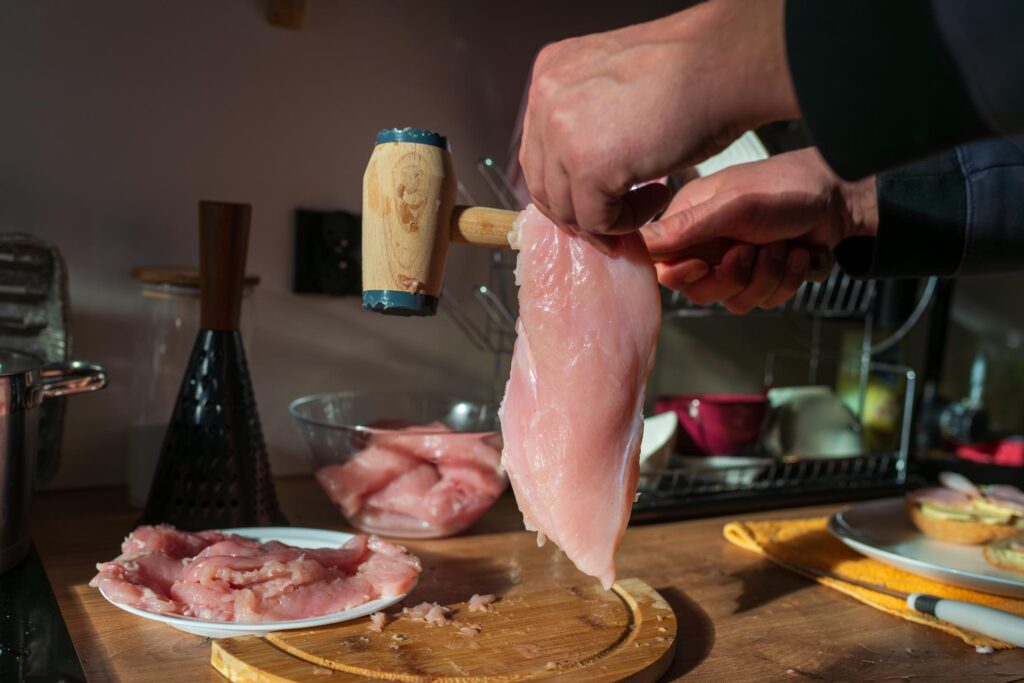
Step 1: Prepare the Chicken (Critical Step)
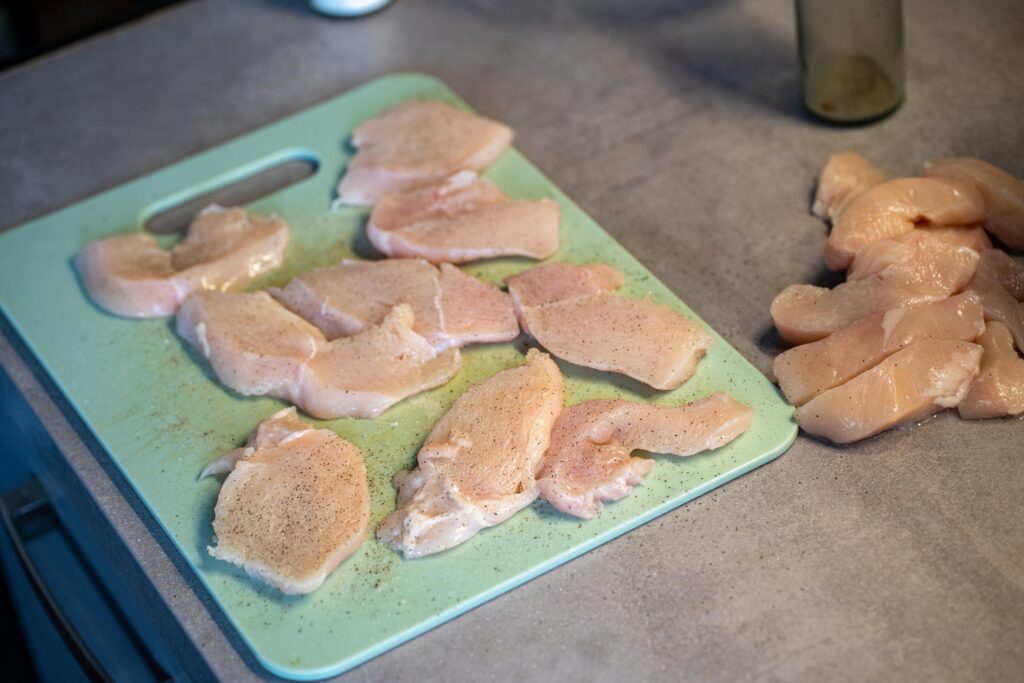
Problem: Uneven thickness causes uneven cooking.
Solution: Pound chicken to even thickness (¾ inch / 2 cm).
This ensures your air fryer chicken breast recipe cooks evenly and prevents one side from drying out.
Step 2: Light Oil Coating (Not Soaking!)
Problem: Too much oil makes it greasy; too little dries it out.
Solution: Use a fine mist sprayer for even coating.
Recommended Tool:
YARRAMATE 2 in 1 Oil Sprayer
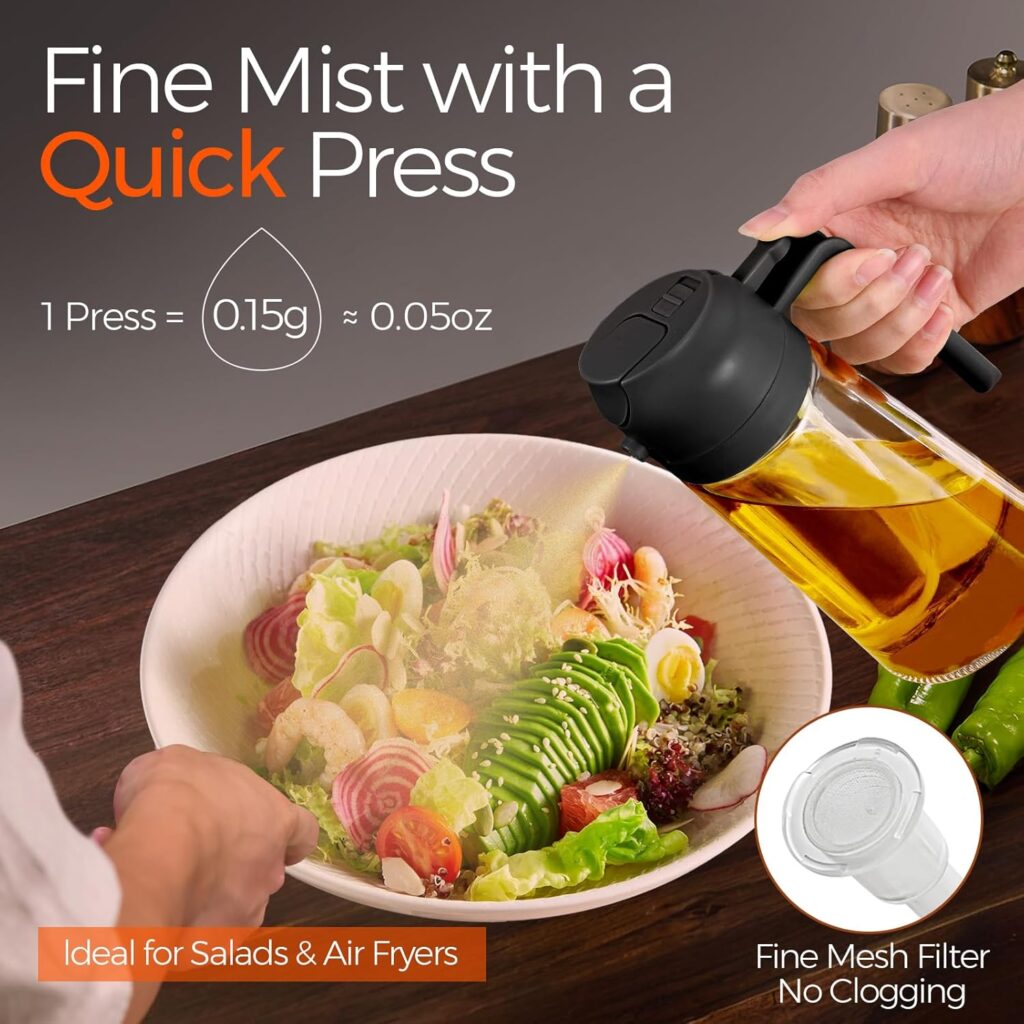
Description: Glass olive oil sprayer
Typical Price Range (US): $9.99 – $15.99
Rating: 4.3 (1,200+ reviews)
Merchants: amazon.in + others
This sprayer uses a food-grade glass body and controlled mist spray. Many customers mention it helps reduce oil usage by up to 40% compared to pouring.
Lightly mist both sides before seasoning.
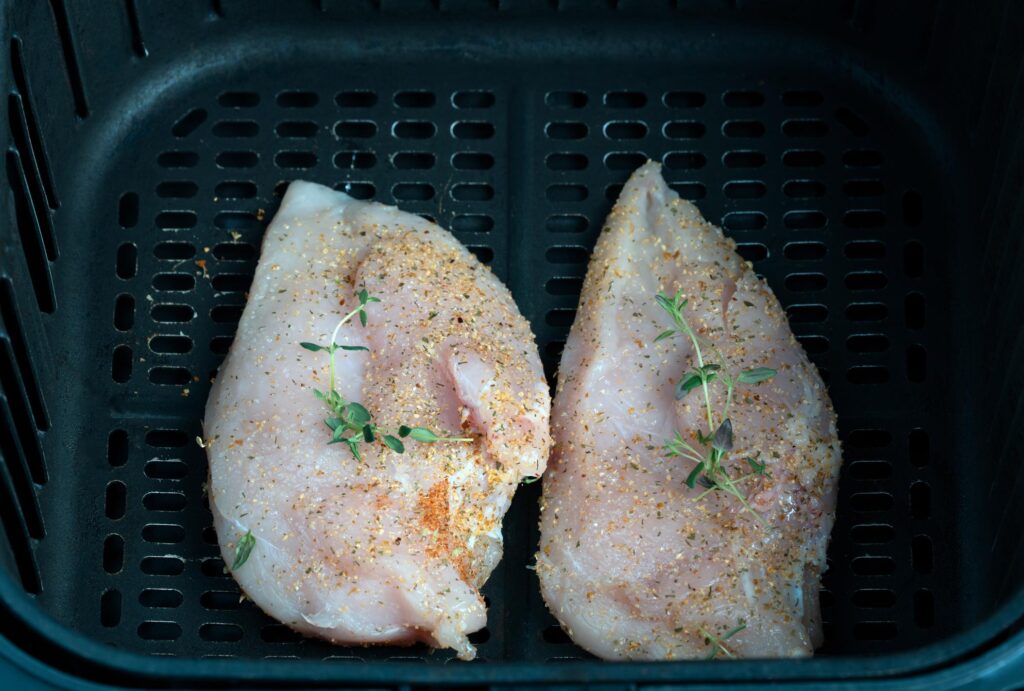
Step 3: Season Generously
Rub seasoning into both sides. Let sit for 10 minutes. This helps flavor penetrate deeply.
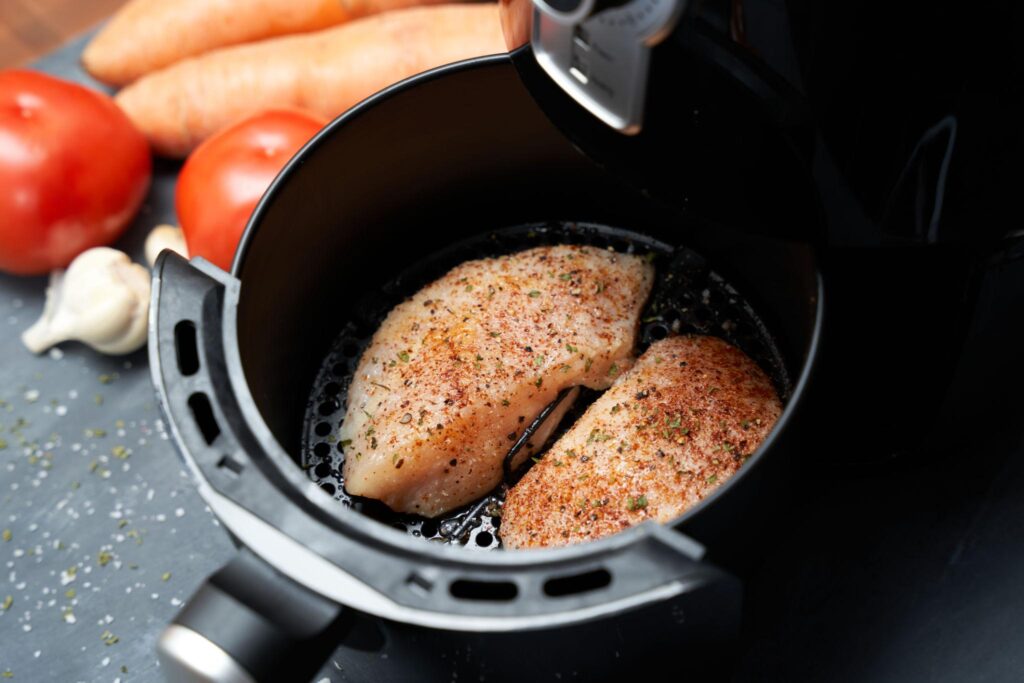
Step 4: Preheat & Arrange Properly
Preheat air fryer to:
- 375°F (190°C)
- 190°C (Metric)
Place chicken in basket without overlapping.
Problem: Marinade drips cause smoking and cleaning frustration.
Solution: Use liners.
Recommended:
Air Fryer Paper Liners, 125Pcs
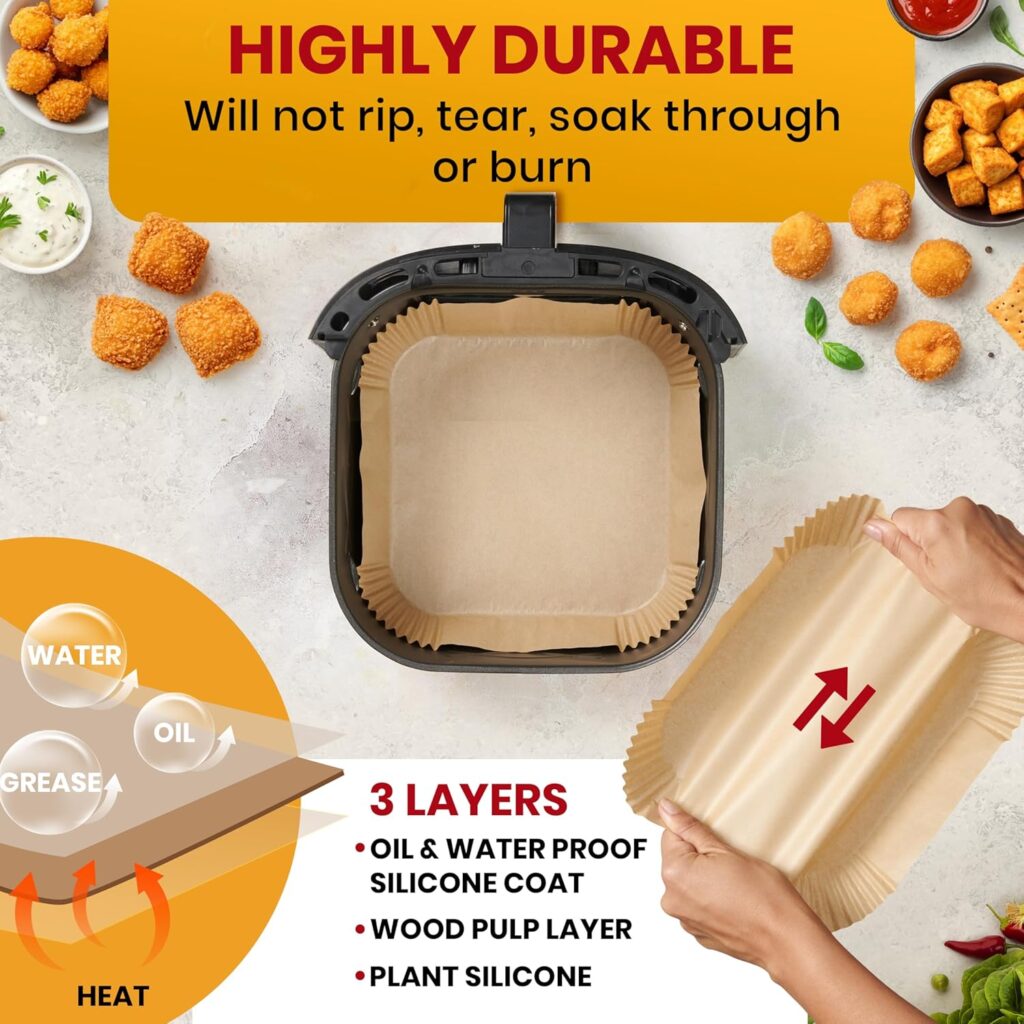
Typical Price (US): $7.99 – $12.99
Material: Food-grade parchment
Heat Resistant: Up to 428°F (220°C)
Use: Non-stick liner for air fryer baskets
These disposable liners:
- Prevent sticking
- Reduce cleanup time
- Keep basket looking new
Step 5: Cook Time
Cook for:
- 7 minutes
- Flip
- Cook additional 5–7 minutes
However — do NOT rely only on time.
Step 6: Check Internal Temperature (The Game Changer)
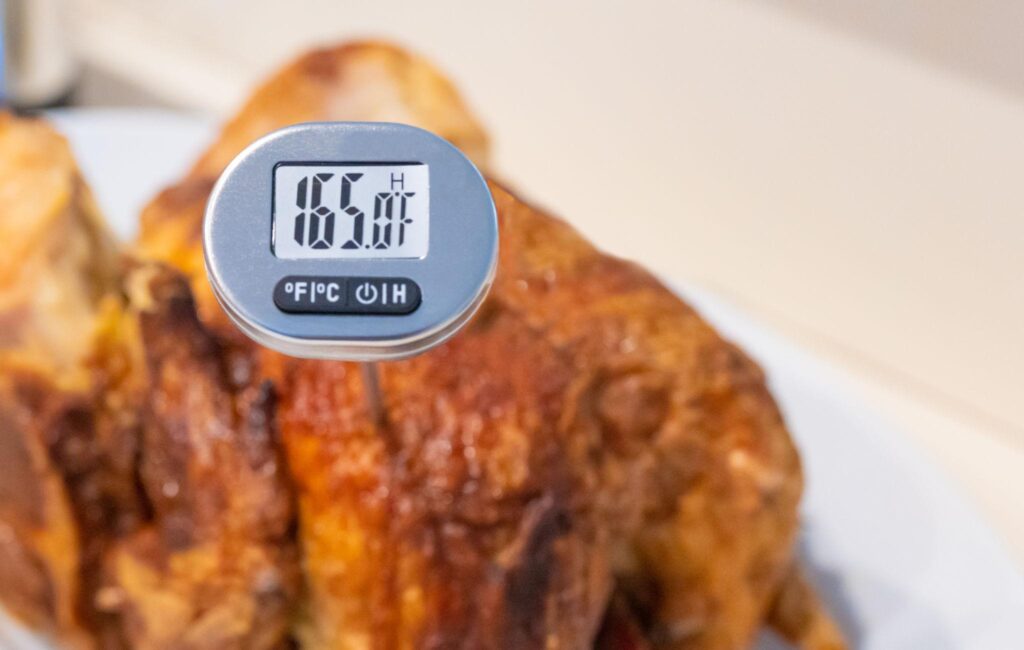
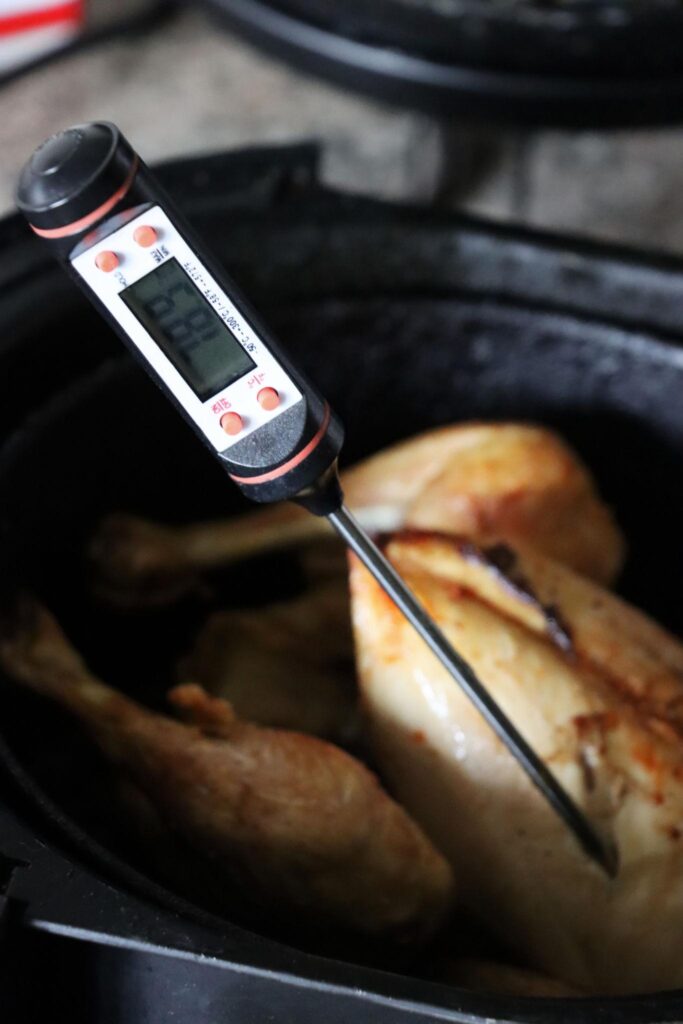
The most important step in any air fryer chicken breast recipe is checking internal temperature.
Chicken is perfectly cooked at:
- 165°F
- 74°C
Recommended Tool:
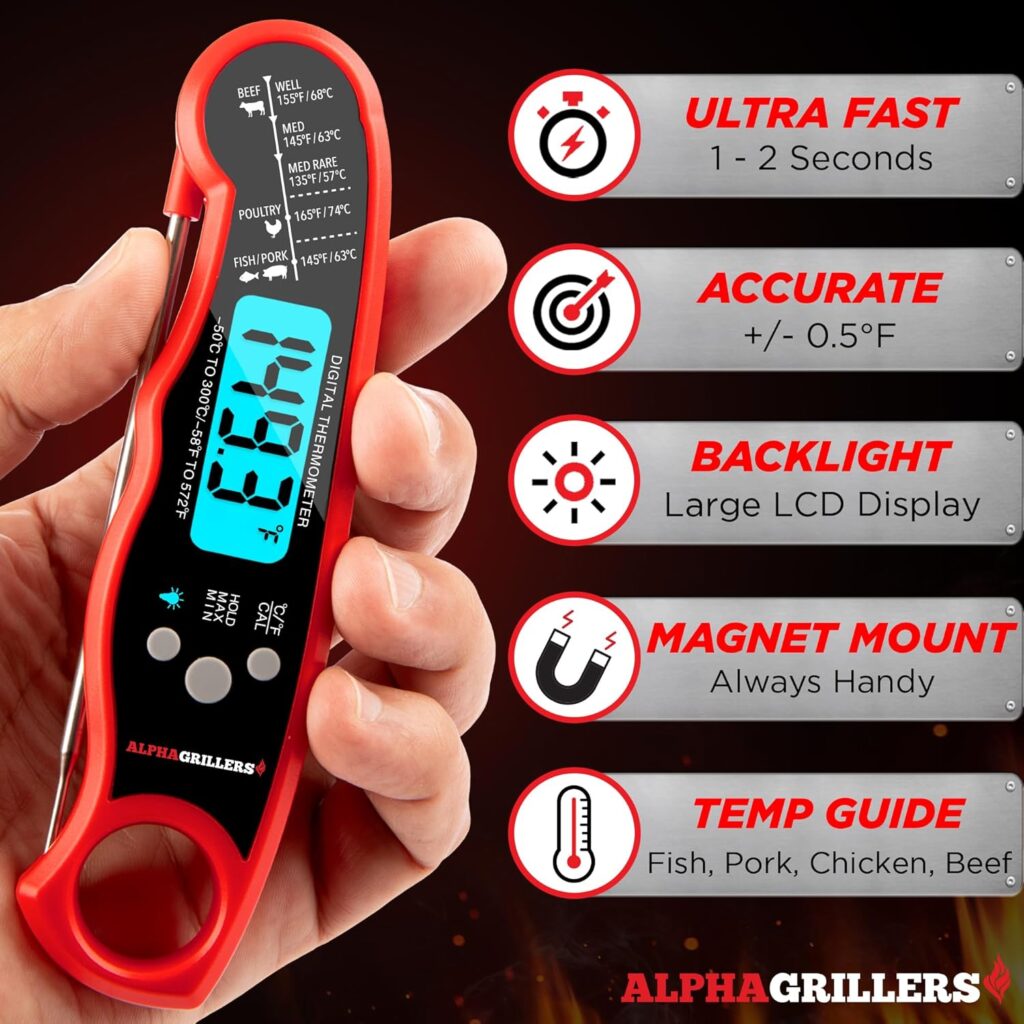
Alpha Grillers Meat Thermometer Digital
- Instant read (2–3 seconds)
- Waterproof
- Large backlit display
- Calibratable
Over 50,000+ users mention it prevents overcooking chicken and steak. Many reviews state:
“I stopped ruining chicken the day I bought this thermometer.”
This is what ensures air fryer chicken breast juicy results every time.
Step 7: Rest Before Cutting
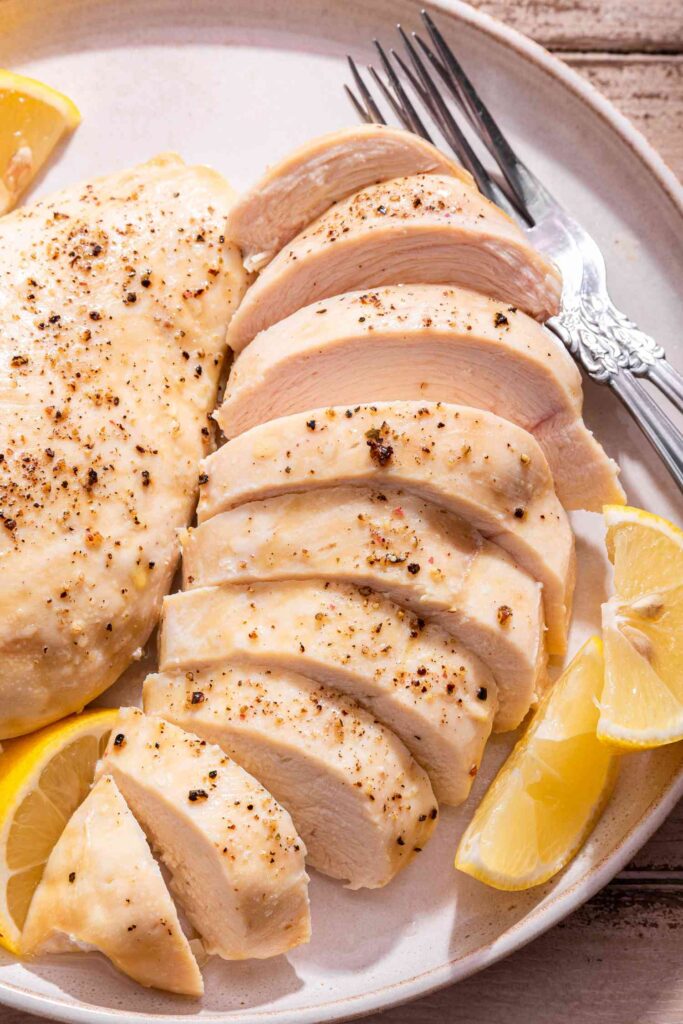
Let chicken rest 5 minutes.
Why?
Because cutting immediately releases juices.
Comparison Table – Recommended Tools
| Product | Purpose | Price Range | Why It Matters |
|---|---|---|---|
| YARRAMATE Oil Sprayer | Even oil coating | Budget | Prevents dryness |
| Alpha Grillers Thermometer | Accurate doneness | Budget | Stops overcooking |
| Air Fryer Paper Liners | Easy cleanup | Very cheap | Saves time |
| Lifewit Drawer Organizer | Kitchen organization | Budget | Keeps tools accessible |
Pros & Cons of This Air Fryer Chicken Breast Recipe
Pros
✔ Healthier than pan frying
✔ Faster than oven baking
✔ Minimal oil required
✔ Easy cleanup with liners
✔ Foolproof with thermometer
Cons
✘ Requires temperature monitoring
✘ Smaller batches depending on basket size
✘ Thin chicken can overcook quickly
Secret Tips No One Will Tell You
- Dry brine with salt 30 minutes before cooking.
- Add 1 tsp lemon juice after cooking for brightness.
- Use smoked paprika for grilled flavor.
- Slightly undercook (remove at 162°F / 72°C) and let carryover heat finish.
These small adjustments elevate a simple air fryer chicken breast recipe into restaurant-quality.
Before vs After Using This Method
| Before | After |
|---|---|
| Dry, chewy chicken | Juicy and tender |
| Guessing doneness | Exact temperature control |
| Sticky basket mess | Easy cleanup |
| Uneven browning | Perfect golden crust |
Customer Testimonial
From verified buyer summaries:
- Users love the thermometer for accuracy within 1–2 degrees.
- Oil sprayer buyers appreciate refillable design and controlled spray.
- Paper liner users mention cutting cleanup time by half.
- Organizer buyers say it reduces kitchen clutter significantly.
One common theme:
“Small investment, big difference in daily cooking.”
Nutritional Information (Per Serving)
- Calories: ~220
- Protein: 40g
- Fat: 6g
- Carbs: 1g
High protein. Low carb. Excellent for meal prep.
Frequently Asked Questions
Can I cook frozen chicken?
Yes, but add 5–7 extra minutes and always check temperature.
How do I keep it from drying?
Use thermometer and avoid exceeding 165°F.
Can I marinate overnight?
Absolutely — but pat dry before air frying.
What temperature works best?
375°F / 190°C provides balance of browning and moisture.
Final Thoughts
The difference between average and perfect chicken isn’t luck — it’s control. This air fryer chicken breast recipe removes guesswork, improves consistency, and delivers juicy results every time.
If you want to stop overcooking protein and start cooking confidently, invest in the right small tools. They cost less than one restaurant meal but improve every meal you make.
Ultimately, cooking becomes easier, healthier, and more enjoyable.
And that’s exactly what a great kitchen should do.