
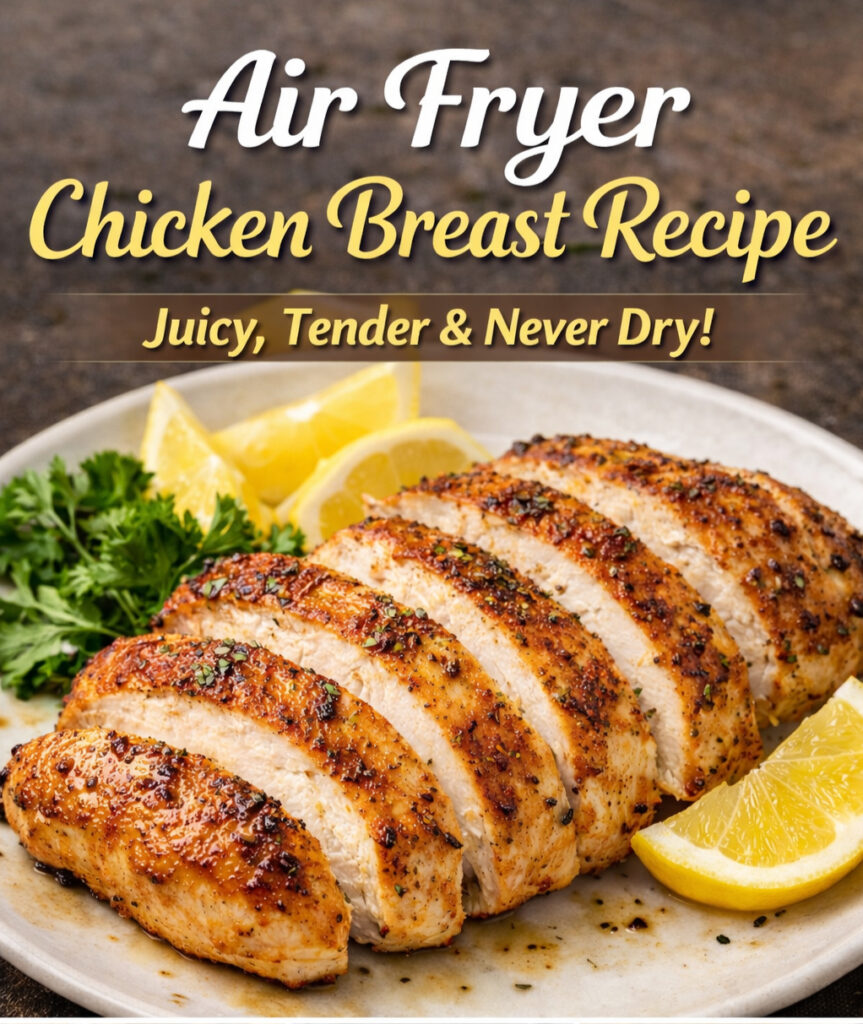
Cooking chicken breast in an air fryer is one of the easiest ways to prepare a healthy, high-protein meal in under 20 minutes. However, getting perfectly juicy chicken isn’t always as simple as setting a timer. Many home cooks struggle with dry, chewy chicken because of uneven thickness, incorrect cooking temperatures, or overcooking.
This air fryer chicken breast recipe is designed to remove the guesswork. You’ll learn exactly how to prepare, season, cook, and rest your chicken for tender, flavorful results every time. Along the way, you’ll also discover a few inexpensive kitchen tools that can make cooking easier, improve consistency, and simplify cleanup.
Whether you’re cooking dinner for the family, meal prepping for the week, or looking for a healthier alternative to pan-frying, this step-by-step guide has everything you need to achieve delicious results.
Quick Answer
For juicy air fryer chicken breast, cook boneless, skinless chicken breasts at 375°F (190°C) for 12–14 minutes, flipping halfway through. Always cook until the thickest part reaches 165°F (74°C) using a meat thermometer, then let the chicken rest for 5 minutes before slicing to keep the juices inside.
Why Your Air Fryer Chicken Breast Turns Out Dry (Problem First)
Before we jump into the solution, let’s address the real issues:
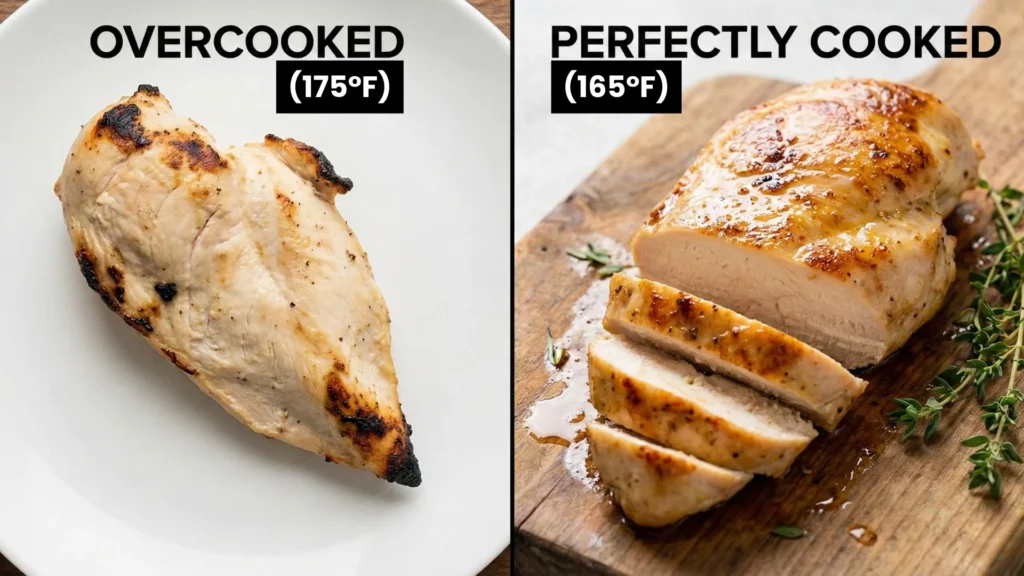
- ❌ Overcooking past 165°F (74°C)
- ❌ Uneven oil distribution
- ❌ No resting time
- ❌ Improper basket setup causing burning
- ❌ Guessing instead of measuring temperature
As a result, even a simple air fryer chicken breast recipe can fail.
Now, let’s fix it properly.
The Perfect Air Fryer Chicken Breast Recipe (Step-by-Step)
- Prep Time: 10 minutes
- Cook Time: 12–14 minutes
- Rest Time: 5 minutes
- Total Time: 27–29 minutes
- Servings: 2
- Cuisine: American
- Course: Main Course
- Difficulty: Easy
- Calories: Approximately 220 per serving
Why This Air Fryer Chicken Breast Recipe Works
This recipe focuses on simple techniques that make a noticeable difference:
- Cooking at a moderate temperature helps the chicken stay moist.
- Pounding the chicken to an even thickness promotes even cooking.
- A light coating of oil encourages a golden exterior.
- Resting after cooking allows the juices to redistribute.
- Using an instant-read thermometer removes the guesswork.
Together, these steps produce tender, flavorful chicken with minimal effort.
Ingredients (Serves 2)
- 2 boneless, skinless chicken breasts (6–8 oz / 170–225g each)
- 1 tbsp olive oil (15 ml)
- 1 tsp garlic powder
- 1 tsp paprika
- ½ tsp black pepper
- 1 tsp salt
- Optional: ½ tsp onion powder, Italian seasoning
Steps of the air fryer chicken breast recipe
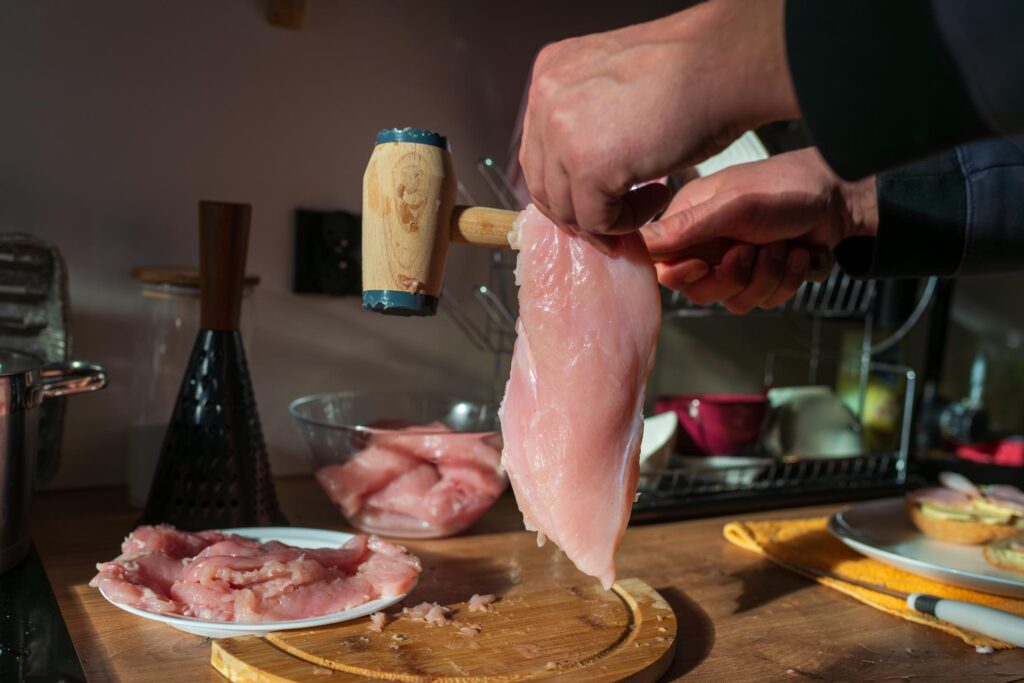
Step 1: Prepare the Chicken (Critical Step)
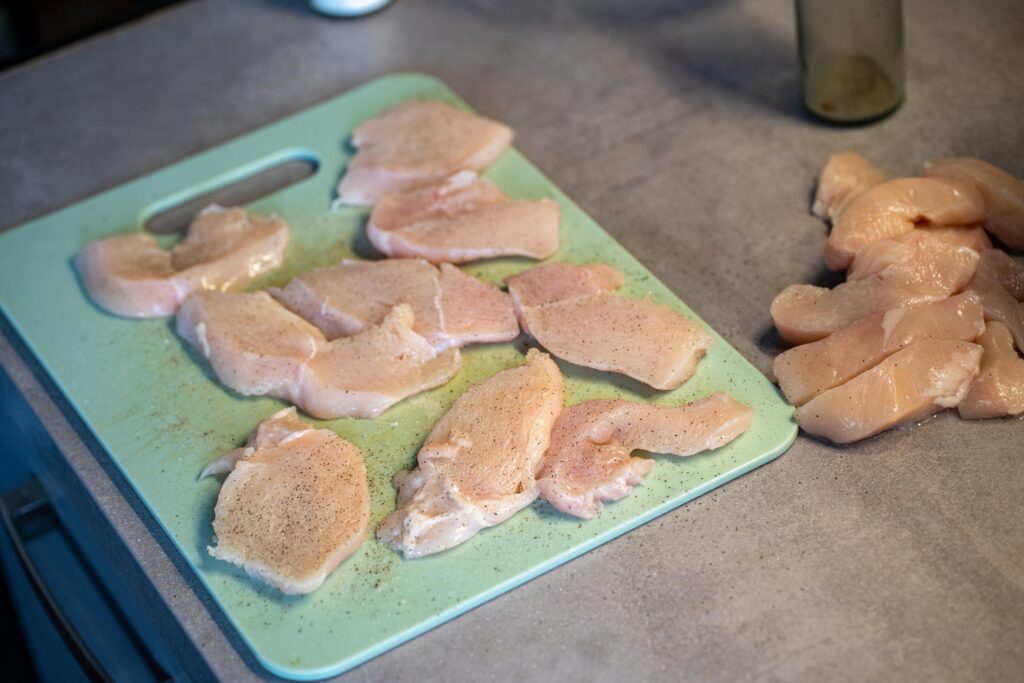
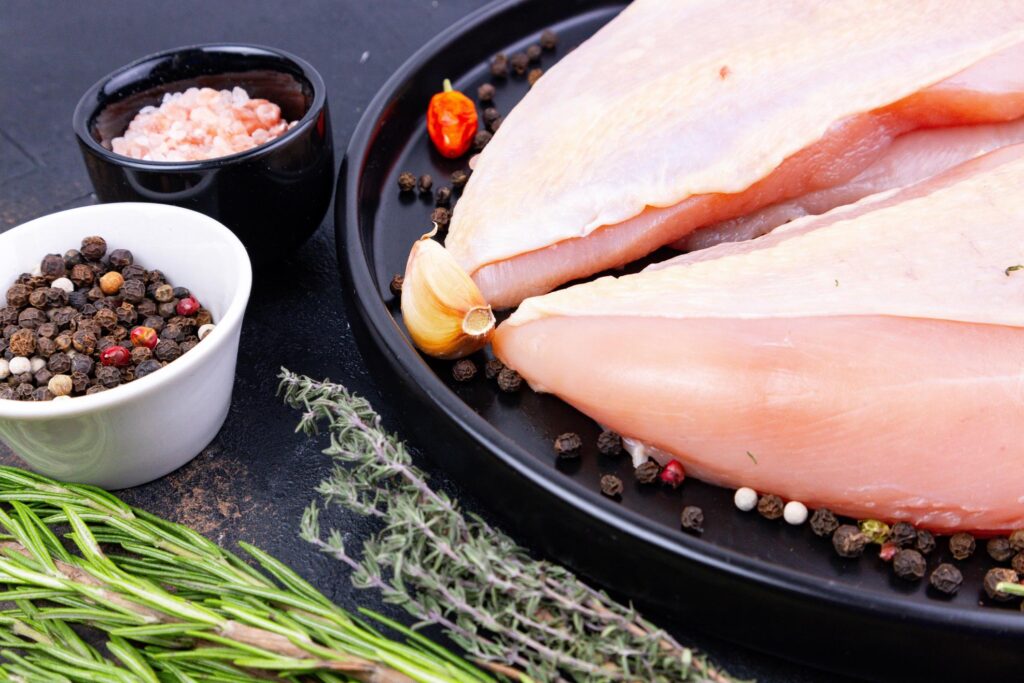
Problem: Uneven thickness causes uneven cooking.
Solution: Pound chicken to even thickness (¾ inch / 2 cm).
This ensures your air fryer chicken breast recipe cooks evenly and prevents one side from drying out.
Step 2: Light Oil Coating (Not Soaking!)
Problem: Too much oil makes it greasy; too little dries it out.
Solution: Use a fine mist sprayer for even coating.
Recommended Tool:
YARRAMATE 2 in 1 Oil Sprayer
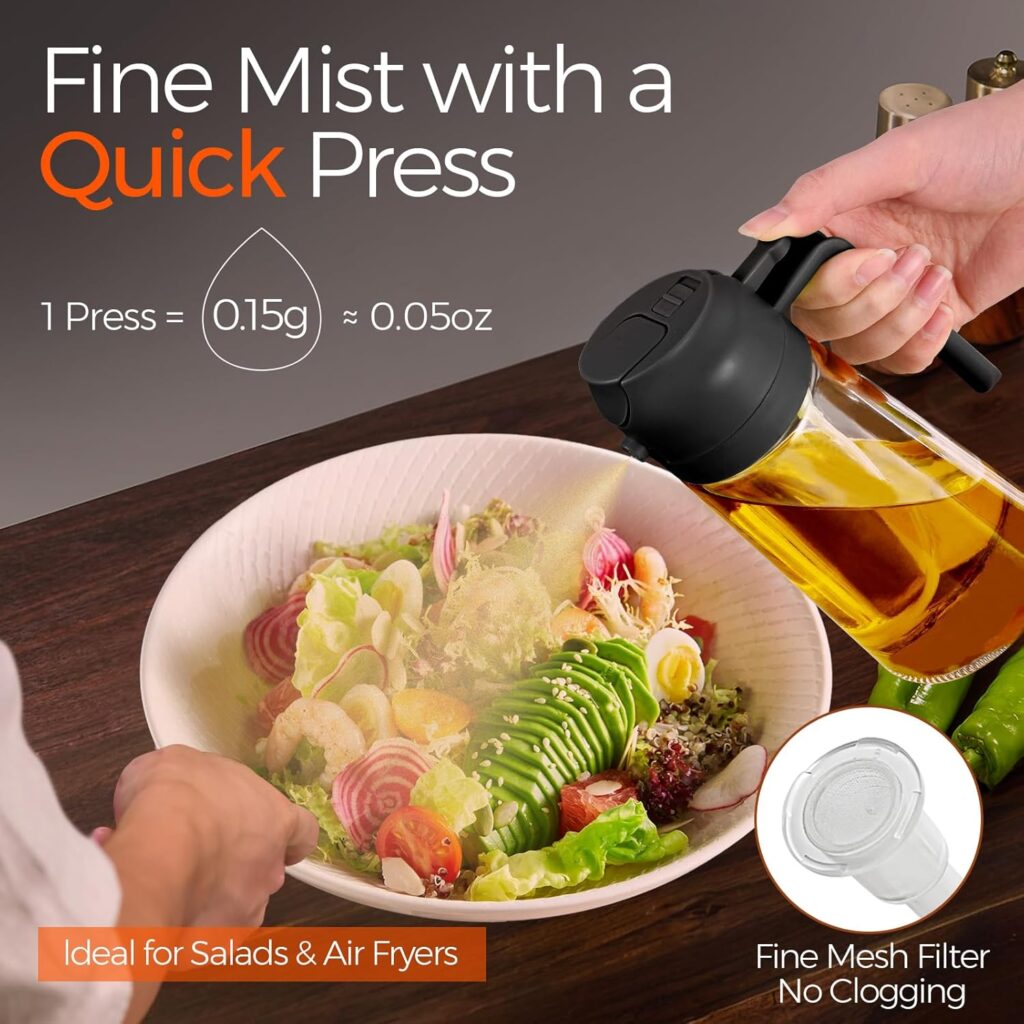
Description: Glass olive oil sprayer
Typical Price Range (US): $9.99 – $15.99
Rating: 4.3 (1,200+ reviews)
Merchants: amazon.in + others
An oil sprayer isn’t essential, but it helps apply a thin, even coating of oil without oversaturating the chicken. Even coverage promotes better browning while using less oil than pouring directly from the bottle. If you cook in an air fryer frequently, it’s a useful kitchen accessory worth considering.
Lightly mist both sides before seasoning.
Step 3: Season Generously
Rub seasoning into both sides. Let sit for 10 minutes. This helps flavor penetrate deeply.
Step 4: Preheat & Arrange Properly
Preheat air fryer to:
- 375°F (190°C)
- 190°C (Metric)
Place chicken in basket without overlapping.
Problem: Marinade drips cause smoking and cleaning frustration.
Solution: Use liners.
Recommended:
Air Fryer Paper Liners, 125Pcs
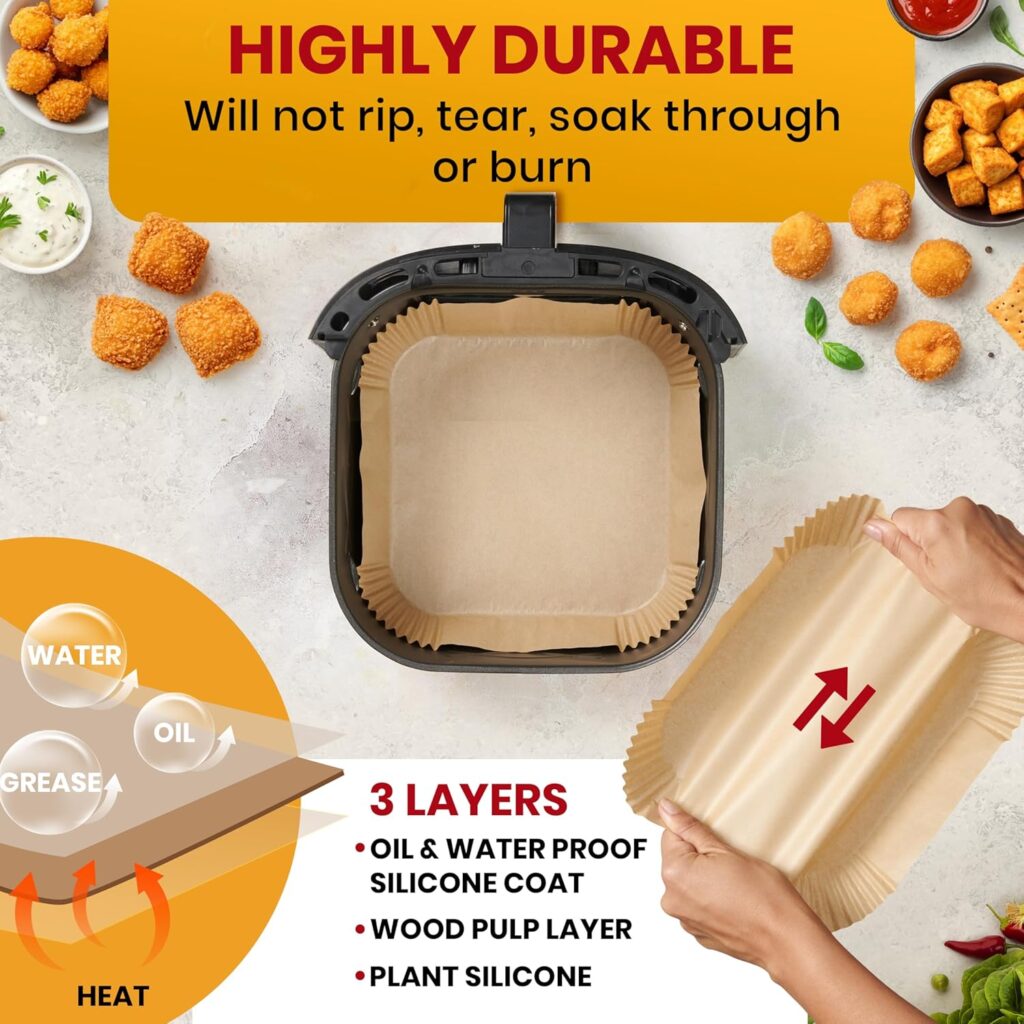
Typical Price (US): $7.99 – $12.99
Material: Food-grade parchment
Heat Resistant: Up to 428°F (220°C)
Use: Non-stick liner for air fryer baskets
These disposable liners:
- Prevent sticking
- Reduce cleanup time
- Keep basket looking new
Step 5: Cook Time
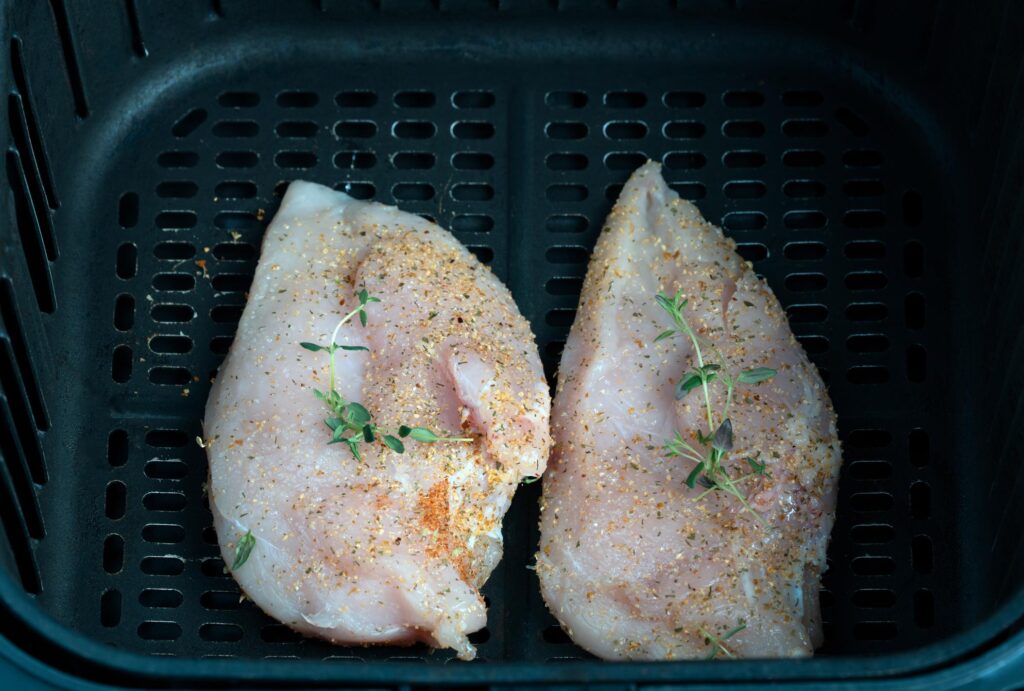
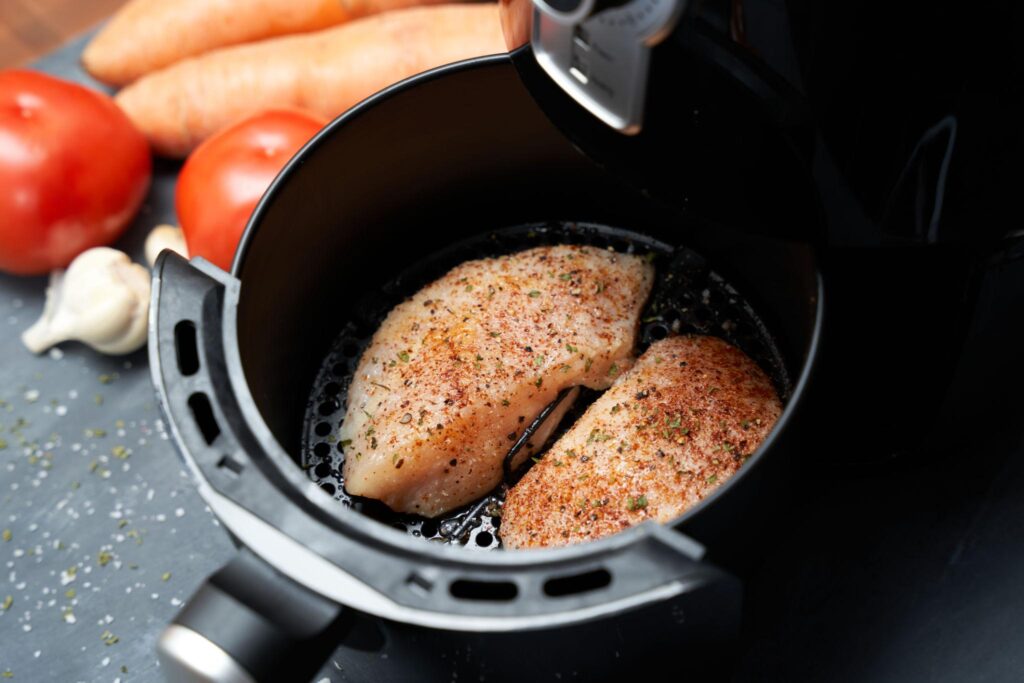
Cook for:
- 7 minutes
- Flip
- Cook additional 5–7 minutes
However — do NOT rely only on time.
Step 6: Check Internal Temperature (The Game Changer)
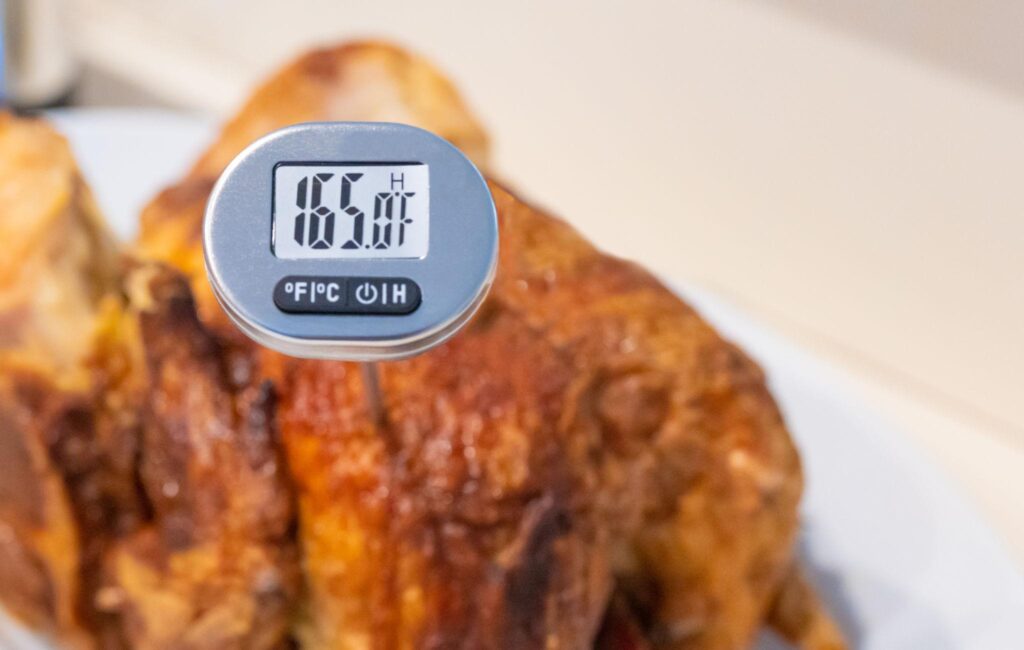
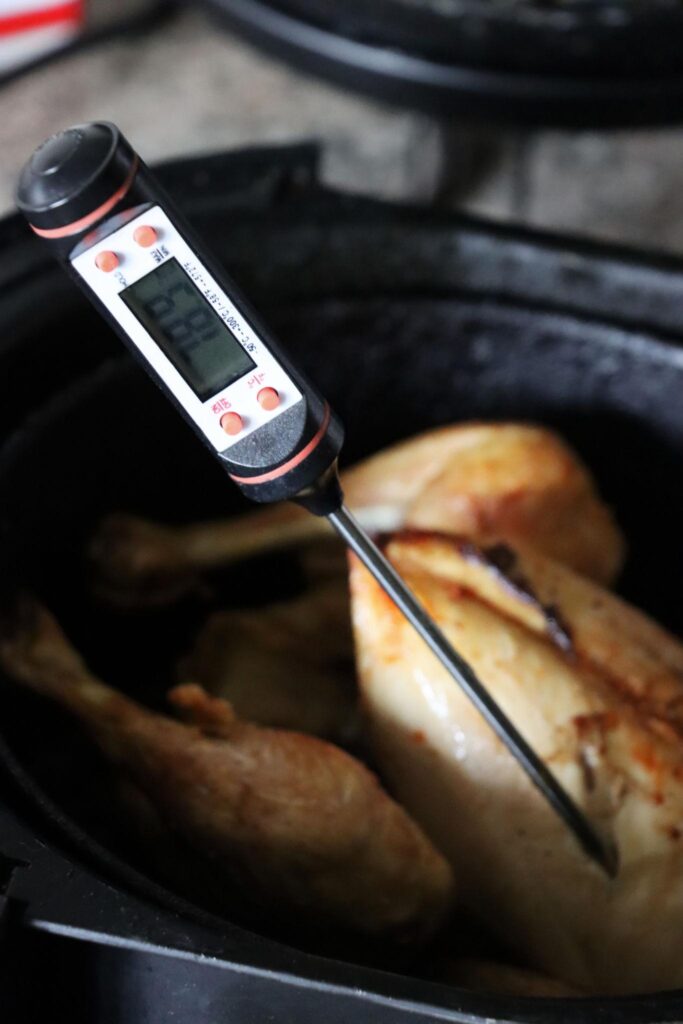
The most important step in any air fryer chicken breast recipe is checking internal temperature.
Chicken is perfectly cooked at:
- 165°F
- 74°C
Recommended Tool:
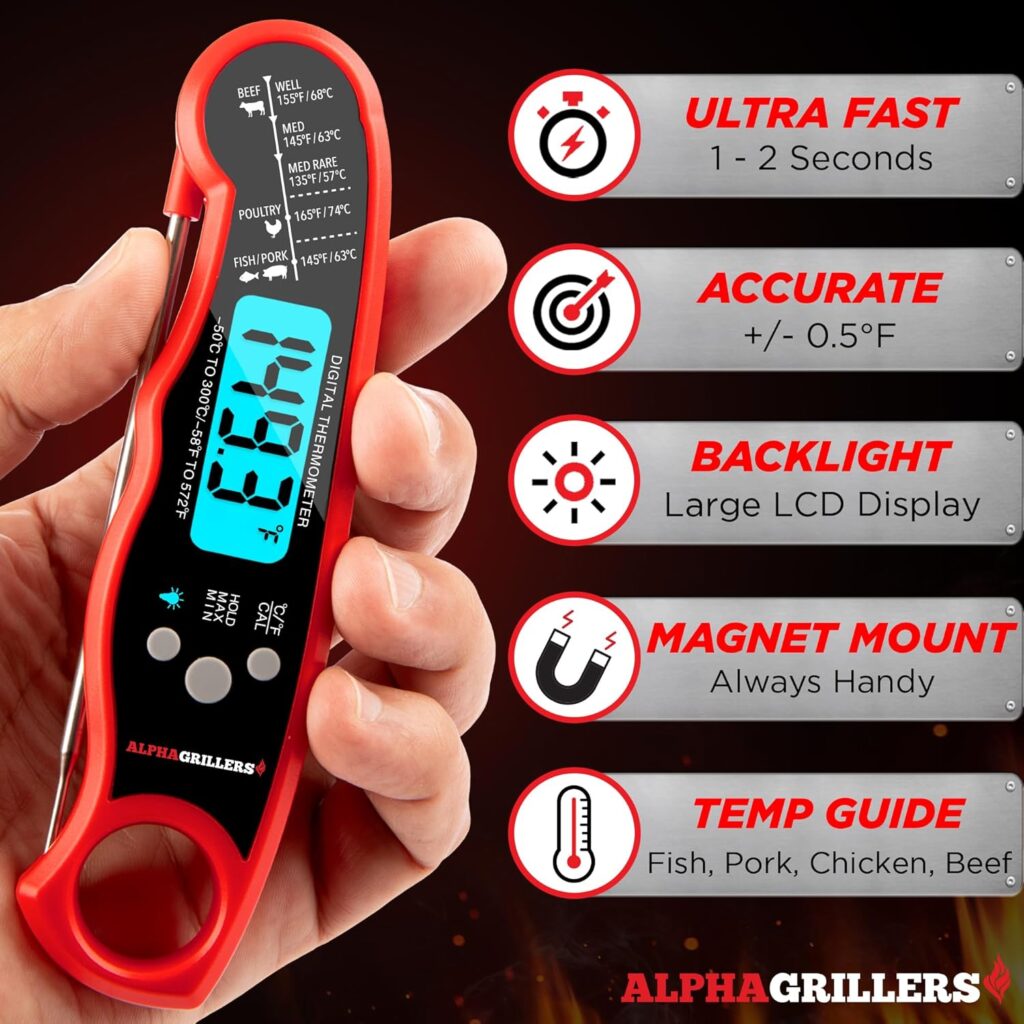
Alpha Grillers Meat Thermometer Digital
- Instant read (2–3 seconds)
- Waterproof
- Large backlit display
- Calibratable
While you can estimate cooking time, a digital meat thermometer is the most reliable way to prevent overcooking. Since chicken breasts vary in size and thickness, checking the internal temperature ensures safe cooking while keeping the meat juicy and tender.
Over 50,000+ users mention it prevents overcooking chicken and steak. Many reviews state:
“I stopped ruining chicken the day I bought this thermometer.”
This is what ensures air fryer chicken breast juicy results every time.
Step 7: Rest Before Cutting
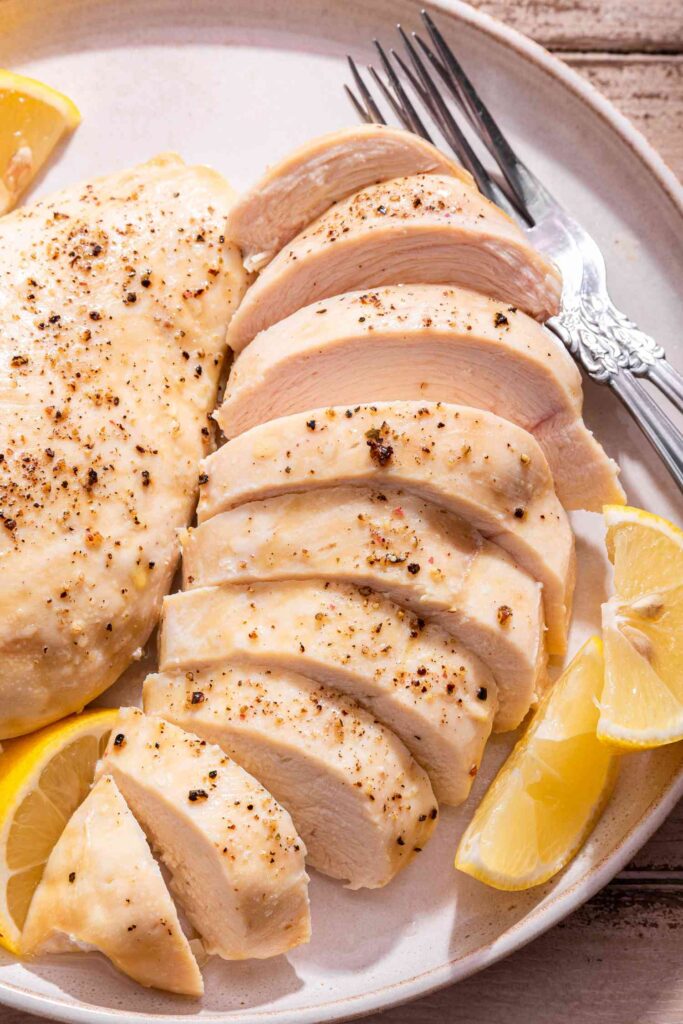
Let chicken rest 5 minutes.
Why?
Because cutting immediately releases juices.
Flavor Variations
Once you’ve mastered the basic recipe, try these seasoning combinations:
- Lemon Herb: Garlic powder, oregano, thyme, lemon zest
- Cajun: Cajun seasoning and smoked paprika
- Italian: Italian herbs, garlic powder, Parmesan
- BBQ: Dry barbecue seasoning
- Honey Garlic: Honey, garlic powder, paprika
These simple variations let you enjoy different flavors without changing the cooking method.
Comparison Table – Recommended Tools
| Product | Purpose | Price Range | Why It Matters |
|---|---|---|---|
| YARRAMATE Oil Sprayer | Even oil coating | Budget | Prevents dryness |
| Alpha Grillers Thermometer | Accurate doneness | Budget | Stops overcooking |
| Air Fryer Paper Liners | Easy cleanup | Very cheap | Saves time |
| Lifewit Drawer Organizer | Kitchen organization | Budget | Keeps tools accessible |
Pros & Cons of This Air Fryer Chicken Breast Recipe
Pros
✔ Healthier than pan frying
✔ Faster than oven baking
✔ Minimal oil required
✔ Easy cleanup with liners
✔ Foolproof with thermometer
Cons
✘ Requires temperature monitoring
✘ Smaller batches depending on basket size
✘ Thin chicken can overcook quickly
Common Mistakes to Avoid
Avoid these mistakes for consistently juicy chicken:
- Skipping the preheat
- Overcrowding the basket
- Forgetting to flip halfway
- Cooking only by time instead of temperature
- Cutting immediately after cooking
- Using chicken breasts of very different sizes together
Correcting these small mistakes can dramatically improve your results.
Secret Tips No One Will Tell You
- Dry brine with salt 30 minutes before cooking.
- Add 1 tsp lemon juice after cooking for brightness.
- Use smoked paprika for grilled flavor.
- Slightly undercook (remove at 162°F / 72°C) and let carryover heat finish.
These small adjustments elevate a simple air fryer chicken breast recipe into restaurant-quality.
Before vs After Using This Method
| Before | After |
|---|---|
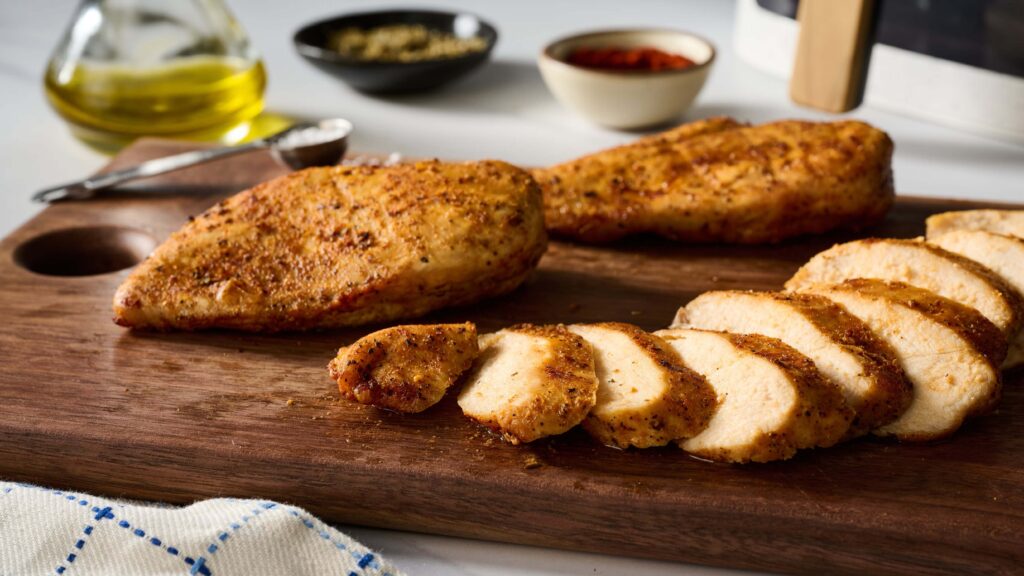
| Dry, chewy chicken | Juicy and tender |
| Guessing doneness | Exact temperature control |
| Sticky basket mess | Easy cleanup |
| Uneven browning | Perfect golden crust |
Who Will Love This Recipe?
This recipe is especially useful for:
- Busy professionals looking for quick dinners
- Families wanting healthier weeknight meals
- Meal preppers cooking several servings at once
- Fitness enthusiasts seeking high-protein meals
- Beginners learning to use an air fryer
Because it requires minimal preparation and simple ingredients, it’s suitable for cooks of all experience levels.
What to Serve with Air Fryer Chicken Breast
Pair your chicken breast with:
- Roasted vegetables
- Air fryer broccoli
- Mashed potatoes
- Sweet potato fries
- Brown rice
- Quinoa
- Garden salad
- Garlic green beans
These side dishes create a balanced meal for lunch or dinner.
Nutritional Information (Per Serving)
- Calories: ~220
- Protein: 40g
- Fat: 6g
- Carbs: 1g
High protein. Low carb. Excellent for meal prep.
Storage and Reheating
Store leftover chicken breast in an airtight container in the refrigerator for up to 4 days.
For longer storage, freeze cooked chicken for up to 3 months.
To reheat in the air fryer:
- Preheat to 350°F (175°C)
- Heat for 3–5 minutes
- Avoid overheating to maintain moisture
This makes the recipe ideal for meal prep and quick weekday lunches.
Frequently Asked Questions
Can I cook frozen chicken?
Yes, but add 5–7 extra minutes and always check temperature.
How do I keep it from drying?
Use thermometer and avoid exceeding 165°F.
Can I marinate overnight?
Absolutely — but pat dry before air frying.
What temperature works best?
375°F / 190°C provides balance of browning and moisture.
Should I flip chicken in the air fryer?
Yes. Flipping halfway through promotes even browning on both sides.
Do I need to preheat my air fryer?
Most air fryers benefit from a 3–5 minute preheat, which helps the chicken cook more evenly.
Can I use chicken thighs instead?
Yes. Boneless chicken thighs typically cook in 12–15 minutes at 380°F (193°C), depending on thickness.
Why is my chicken tough?
Tough chicken is usually the result of overcooking. Use a meat thermometer and remove the chicken once it reaches 165°F (74°C).
Final Thoughts
Final Thoughts
Making juicy air fryer chicken breast doesn’t require complicated techniques—just a few simple habits. Cooking at the right temperature, seasoning well, checking the internal temperature, and allowing the chicken to rest before slicing can transform an ordinary meal into one that’s consistently tender and flavorful.
If you cook with an air fryer regularly, a few inexpensive accessories—such as an oil sprayer, digital meat thermometer, and parchment liners—can make the process more convenient and help you achieve reliable results. Most importantly, this recipe is easy enough for beginners while delivering restaurant-quality chicken that you’ll want to make again and again.